Let me start off by saying: I LOVE the free Cottage Mama Party Dress pattern! It is a pattern that is so versatile and inspires so many ideas in that I simply cannot keep up!
So how can you get a copy for yourself?! Go on over to Lindsay Wilkes website The Cottage Mama and sign up for her newsletter OR like her Facebook page The Cottage Mama Pattern Group.
Whew! So that being said…lets move onto the pattern hack. Now please keep in mind this is the measurements to alter the size 5. I really just eye-balled how big I wanted the center panel and added 1/2 inch for seam allowance.

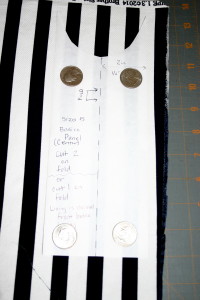
1. Take the front bodice piece and place it on folded freezer paper, trace and cut it out. You want two front bodice pieces that you can open up fully. (Ignore the 1 inch extra on the sides)

2. Drafting the Center Panel piece: Draw a dotted line down the center fold of the front bodice piece. This makes it easier to measure and draw lines. I then measured and drew a line on each side of the center fold line that is 2 inches away (1.5 inch for bodice + 0.5 inch seam allowance). This means the center panel will be 4 inches across including seam allowance. Cut the panel out and label it.

*For the dress bodice I fussy cut 1 center panel in the stripe (for the lining I cut 1 regular unaltered bodice front in a solid white). For the record, no, quarters do not hold my pattern piece in place! I generally use canned goods for weights, but felt that in this instance it would detract from the picture.
 3. Drafting the Side Panel piece: Next take the 2nd front bodice piece and draw the dotted line down the center fold. Then draw a 1 inch line on one side of the center fold line. This is your cut line. You can take my word for it or you can keep reading to see my reasoning and how I figured that out.
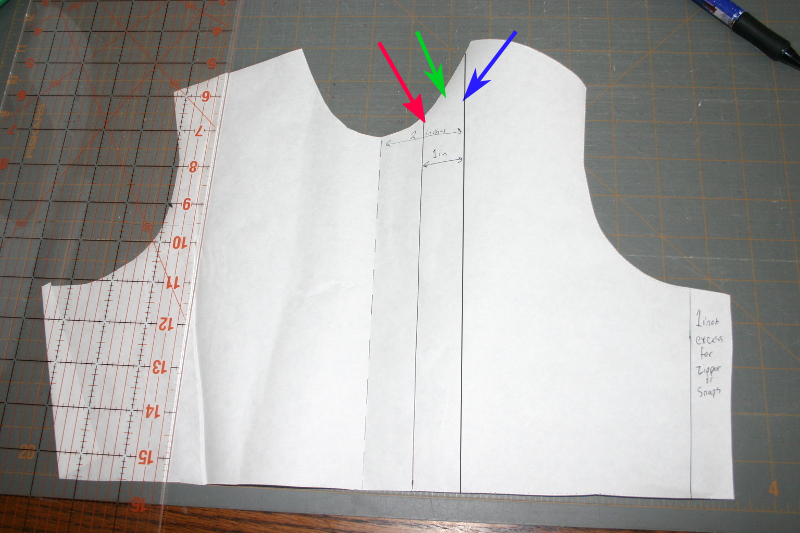
The blue arrow is the 2 inch line that is drawn for the center panel. Now imagine a line 1/2 inch to the left of that line. That is where the green arrow is pointing. That is the imaginary line in which the center panel and side panel should join (seam). Now you need to add another 1/2 inch to the left of that imaginary line. That line is (indicated by the red arrow) is the seam allowance for the side panel. So if you measure over from the center fold line…it is 1 inch.
 * For the dress bodice fussy cut 1 right and 1 left side panel. If you use stripes, cut them individually versus folding the fabric to double layer.
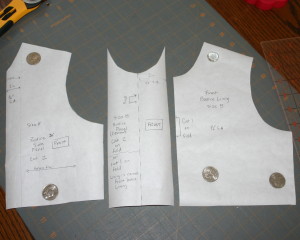
4. In the picture below from left to right: Side panel, Center panel, Front Bodice
The front bodice piece is unaltered and what I used to cut out the lining for the bodice top.
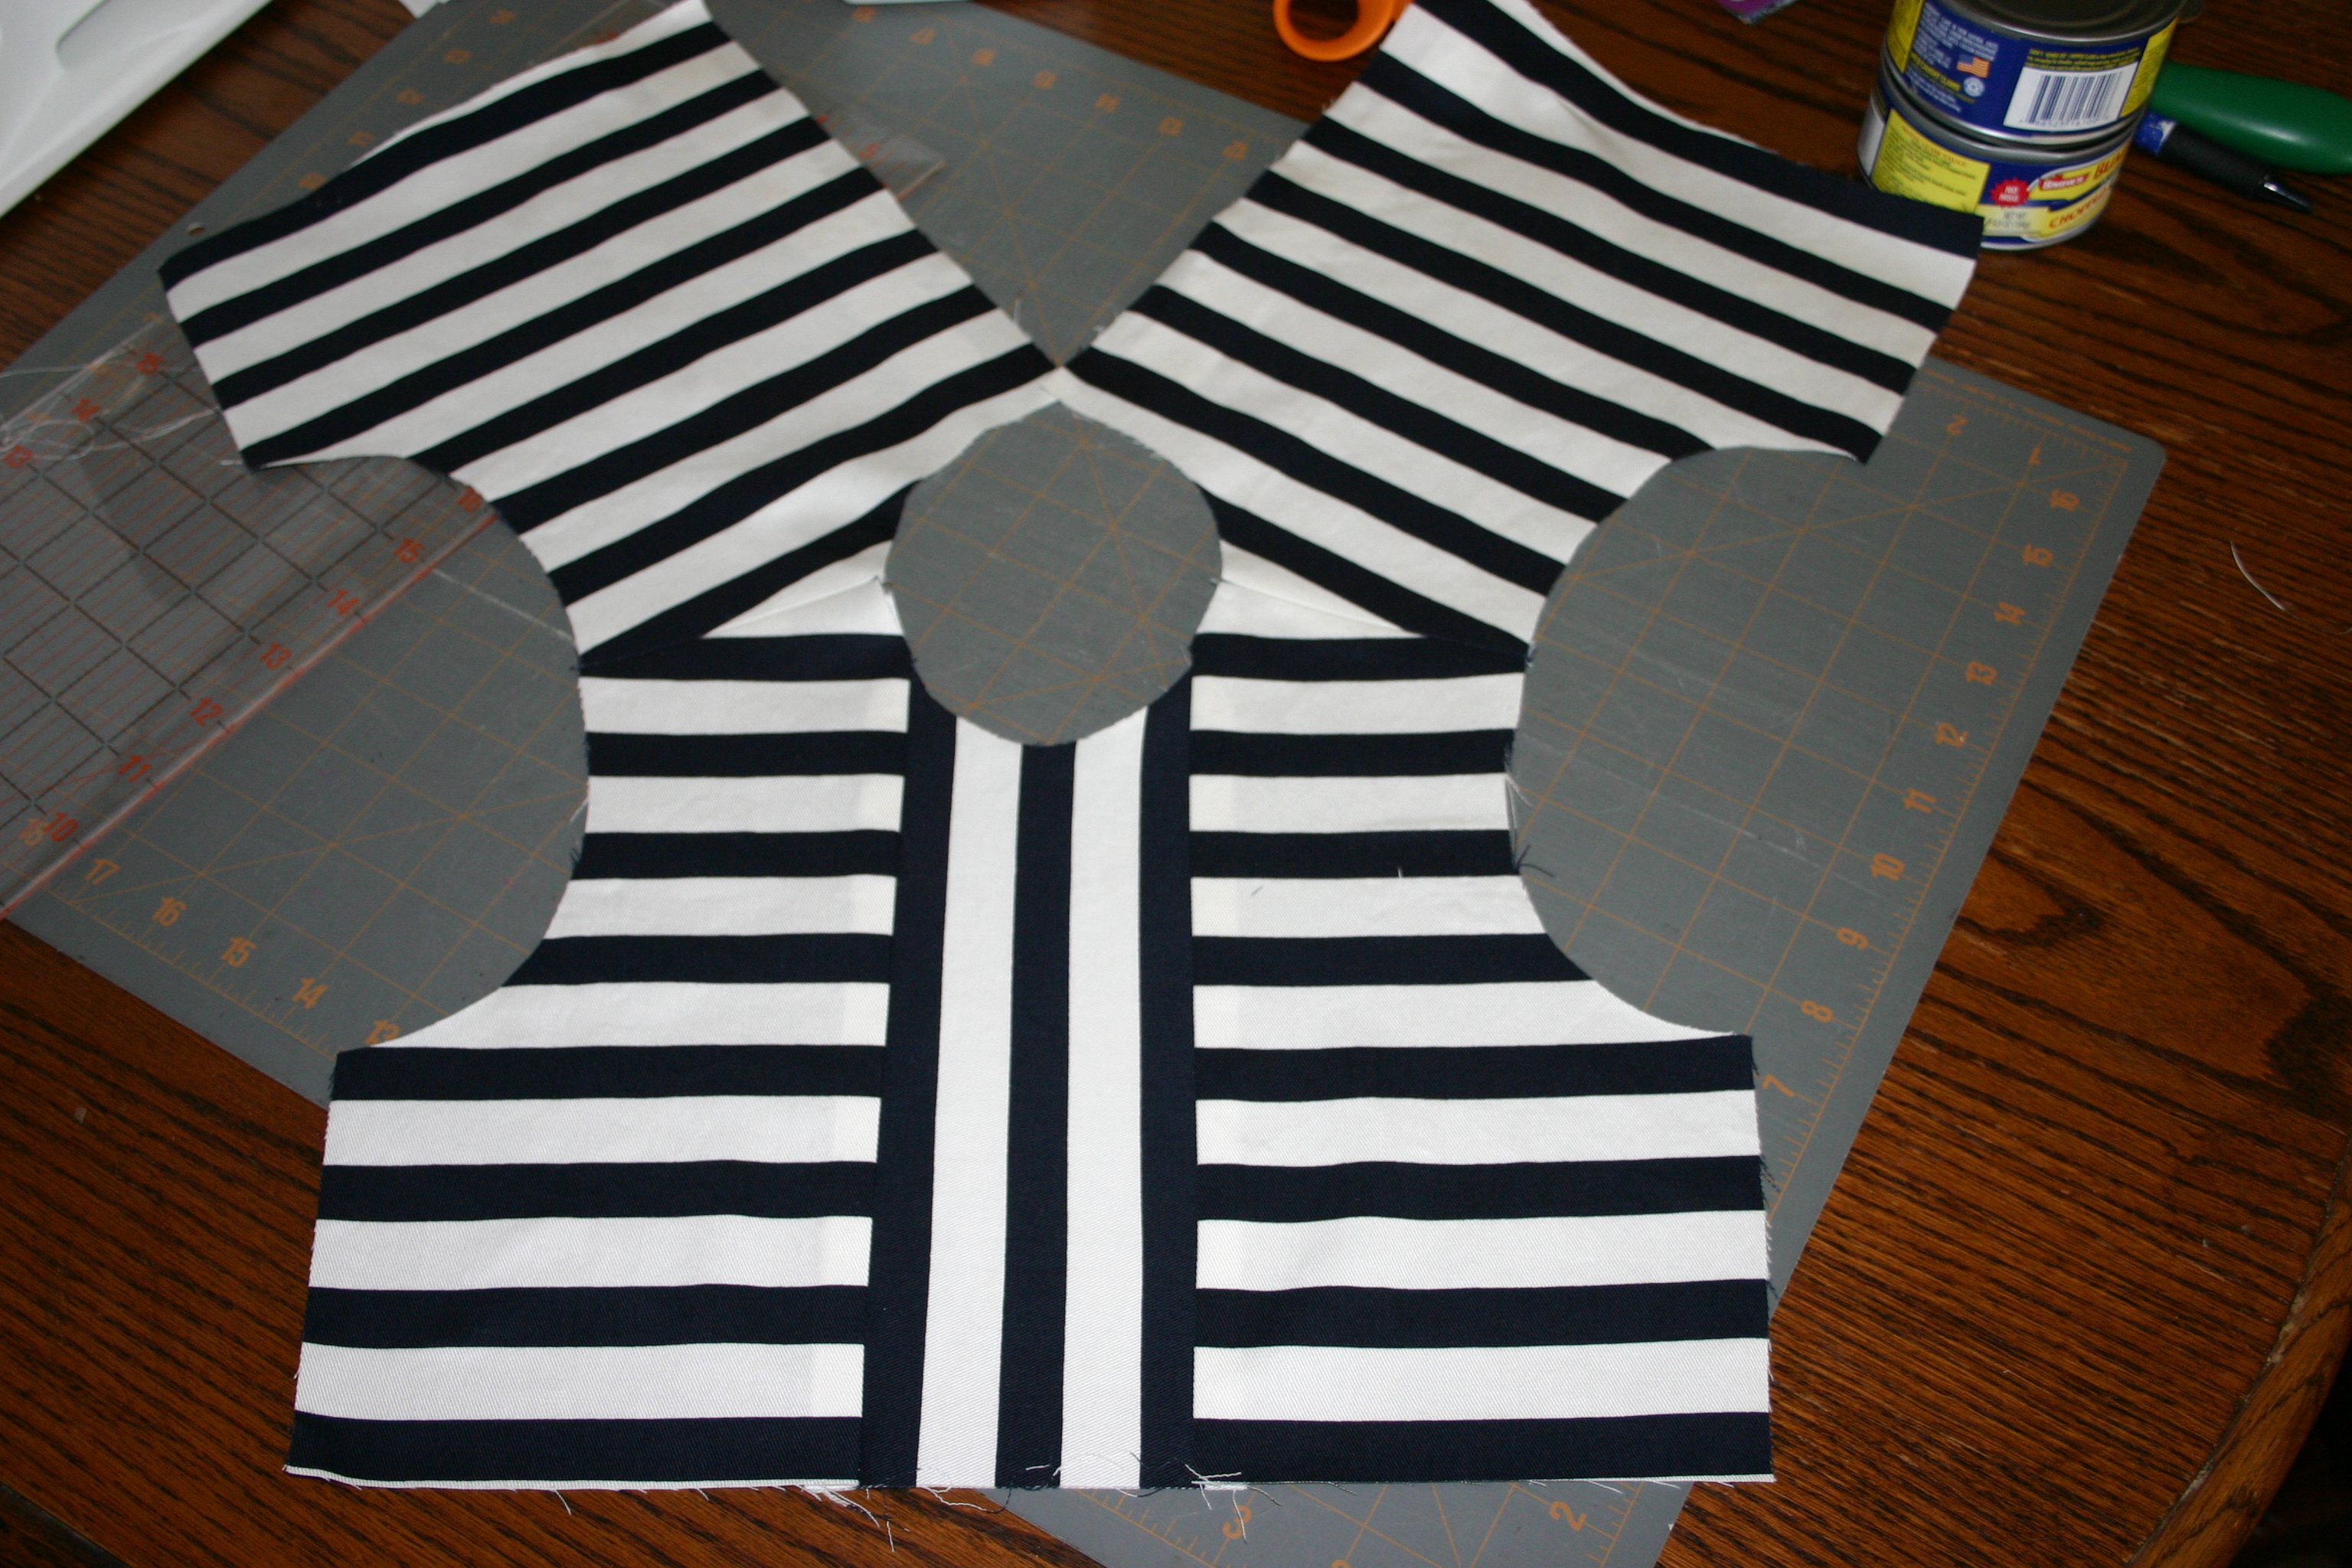
 I then fussy cut the three pieces. The center panel at the neckline will have the “tips” that overhang the side panels. As long as the bottom lines up and you stitch with a 1/2 inch seam allowance it will all turn out well when you press open the seams.
 Put it all together and Voila! New Party Dress!
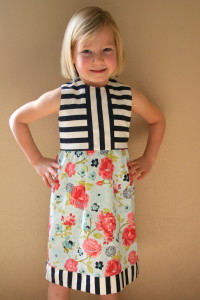

* I am thinking pink belt, pink sash tied in front, maybe piping along the center panel and/or between the bodice and skirt…I could keep going!