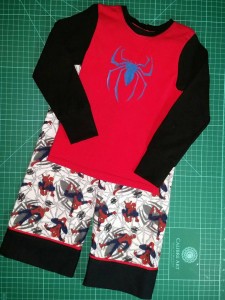
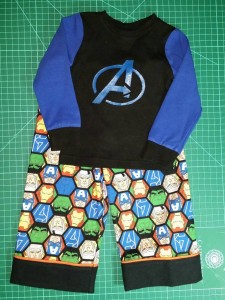
 The holiday season always inspires me to make and give gifts to my children, nieces and nephews. This year I wanted to make several pairs of flannel PJ bottoms with matching knit tops. Of course the holidays have a way of sneaking up on me and I no longer had time to appliqué the knit tops like I originally intended. Instead I decided to bring out my stash of fabric paints and put them to good use.
Materials:
- Fabric paint
- Paper plate
- Foam brush
- Fabric
- Freezer paper
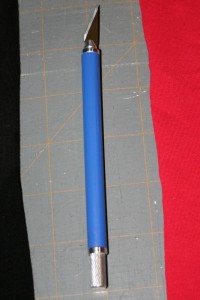
- X-acto knife
- Computer and printer
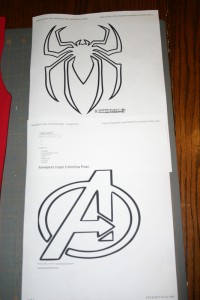
Step 1: Google the desired picture. For example this is the Avenger logo and I googled “Avenger logo coloring pages”. I then selected images from my Google search and went to the coloring page that I wanted. You want to search coloring pages because your results will then be simple line drawings without color and are easier to make a template out of. You may have to resize the image to fit your “size” of shirt you are making. I ended up scaling the Avenger down to 75% (size 18mo shirt) and the Spiderman logo to about 83% (size 4T shirt).
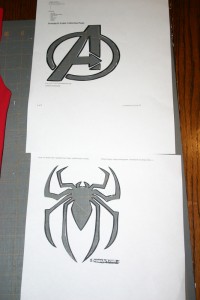
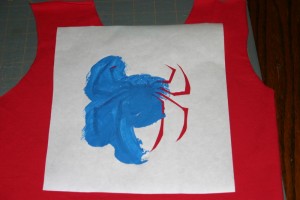
Step 2: Take a piece of freezer paper that is at least 1″ bigger all around your logo and place it under the printed image. You will then use an X-acto knife to carefully cut the image out of both the printer paper and underlying freezer paper. In the second paper I have yet to separate the freezer paper from the printer page. The piece that you cut out could be saved (especially the spider) and used. However, I wanted to paint inside the design.
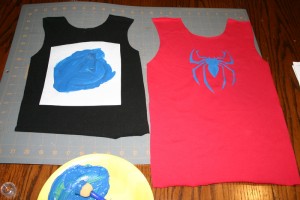
Step 3: Turn your iron on to its coolest setting without steam. Center the freezer paper onto the front piece of the shirt (before assembling) and iron onto the RIGHT side of the fabric. I transferred my shirts to my cutting mat so that I could move the pieces out of reach from little fingers. DO NOT iron directly on your cutting mat…trust me on this…
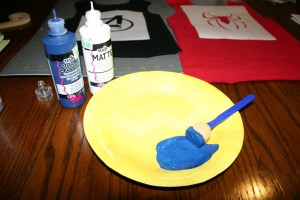
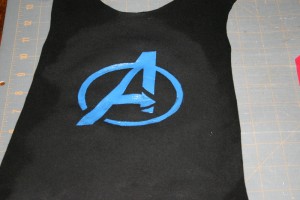
Step 4: Squirt your fabric paint (or mix colors like I did) onto your paper plate and begin “painting” your design. When painting use a very light brushing stroke and I found that going in one direction (i.e. top to bottom) worked out better. Try to get an even amount of paint spread out in 1-3 brush strokes if you can. I ended up lifting a corner of the ‘A’ and causing my lines to be uneven. Once you have the image painted, immediately remove the freezer paper. This is to ensure that all your lines are “clean and neat”.
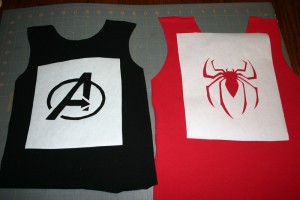
So what if you remove the freezer paper and notice the paint got under the freezer paper?! Do not panic! Go wash your fabric….right now! I had a mistake on my Avenger logo (not pictured) and I took mine to the kitchen sink and washed and rinsed it with dish soap. The paint came right out. Dry your fabric and start again! Notice in the picture below the black fabric is dry around the Avenger logo and still damp around the edges…well, I was too impatient to use the dryer and instead used my iron to dry it!
Step 5: Move it out of reach of curious fingers and let it DRY! My brand of paint dried in about 4 hours and then I could start assembling the shirt.
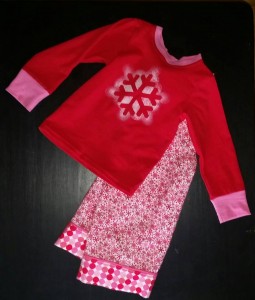
**If your recall in Step 2, I said that you could save the image that you cut out (instead of the outline as pictured above) and use it. I did this with a snowflake image (not pictured) and adhered the snowflake to to the front shirt piece. I then dabbed a scant amount of paint AROUND the edges of the image to obtain the result below…
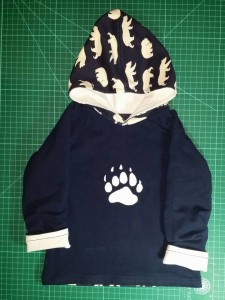
**And in case you are not convinced of how cute the freezer paper stenciling is, here is another shirt that I made for my son using a “bear paw print coloring page” image.
If you have any further tips, questions or comments I would love to hear them!
